11 GoPro Snorkeling Tips for Awesome Videos
Improve your ability to make awesome GoPro snorkeling videos on your next tropical vacation!
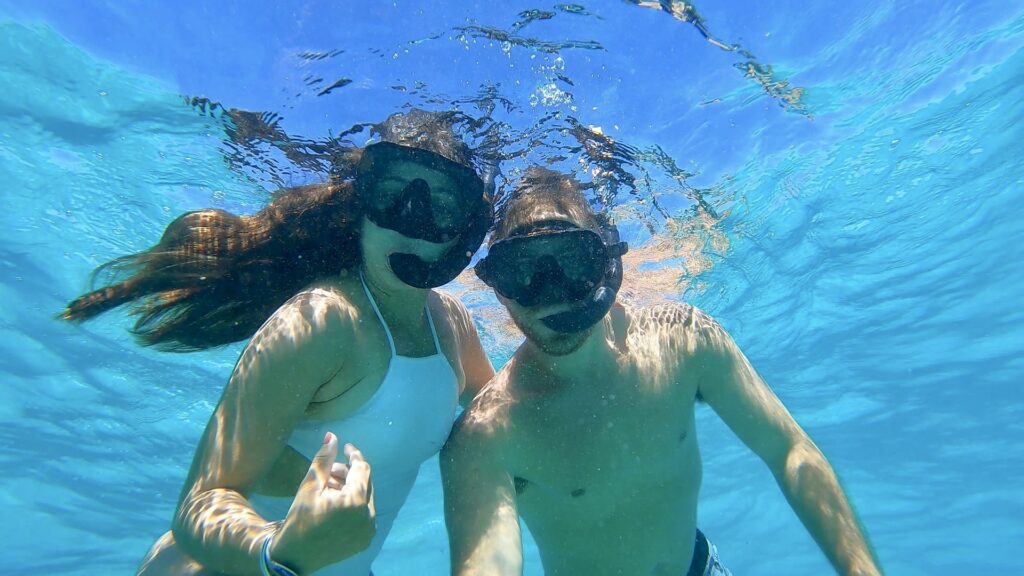
Frustration doesn’t even begin to describe the disappointment you feel after you download GoPro snorkeling videos only to discover that they suck. Like, really suck.
That sea turtle you swam with? Let’s call it a blurry blob instead. Those reef fish you encountered? An indistinguishable swarm of fog. You and your mate on the surface? Well, nobody can see you pass those water droplets on the camera lens.
Yup. I’ve been there too. Infuriating.
But what if I told you there’s a way to avoid it? You know, like a handy list of 11-bulleted tips for better snorkeling videos with your GoPro. A list compiled by a professional Divemaster and boat Captain after hundreds of failed snorkeling clips and some disappointing lessons.
Well, eager snorkelers, you’re in the right place!
Below, I’ve included 11 tips for better GoPro snorkeling videos. Useful tips so you can compile epic footage of your next snorkeling adventure! Here’s just one example of a video I’ve been able to make using these tips:
Best GoPro for Snorkeling
The GoPro Hero 10 is the best GoPro for snorkeling, hands down. The updated technology, horizontal leveling, customizable settings, and durability set it apart from the rest.
The rest of this article provides affiliate links to products specifically for use on the GoPro Hero 10. If you have a different model, be sure to purchase the product that coincides with your GoPro model.
- 1. Use Optimal Settings
- 2. Use a Dome Port
- 3. Add a Colored Filter
- 4. Use the Best GoPro Mount for Snorkeling
- 5. Use housing for added protection
- 6. Use Anti-fog Inserts
- 7. Clean droplets off the lens
- 8. Know Your Subject & Distance
- 9. Keep It Charged
- 10. Capture Clips, Not Chunks
- 11. Properly maintain your GoPro
GoPro Snorkeling Tips for Better Videos
Step up your GoPro snorkeling videos with these handy tips!
1. Use Optimal Settings
What should your settings be on your GoPro for snorkeling? When you first turn on your GoPro and head to settings, you might feel a bit overwhelmed. What the hell do all these numbers even mean?
Want a Quick Answer?
Here are our choices for the best settings to use for snorkeling on your GoPro.
- Resolution: 1080p
- Frames per Second: 60fps
- Digital Lens: Wide or Linear
Best Resolution Setting on a GoPro for Snorkeling
Resolution on your GoPro refers to the number of pixel lines both horizontally and vertically within the video. The higher the resolution setting, the more pixels in the video, resulting in better clarity on larger screens.
The GoPro standard-setting, and most commonly used, is 1080p (HD). And although the GoPro Hero 10 and other models have resolution settings up to 4k, for most snorkeling adventures, 1080p is more than enough and makes for great YouTube videos, Facebook posts, Instagram Reels, and TikTok clips.
Frames per Second (fps) for Snorkeling Videos on a GoPro
When selecting FPS for your snorkel video, 60 FPS is best for underwater GoPro videos. Particularly, if you’re not worried about editing the clips and would rather post them directly for your friends to view.
Plus, at 60 FPS, as opposed to 30 FPS, you can slow down some clips for a cool, dramatizing effect.
Best Digital Lens or Field of View (FOV) for GoPro Snorkeling Videos
The Digital Lenses, formerly known as the Field of View, are how much of the area is captured within your video. It works on a spectrum, with Superview capturing the most and Narrow capturing the least.
The GoPro Hero 10 has standard settings with a wide lens, which falls in the center of the spectrum – and this might be the best selection for snorkeling.
A wide lens is excellent for Youtube Videos, Facebook posts, and for clips used elsewhere. However, I personally use the Linear setting as I like to frame photos from my GoPro clips. With a linear setting, my snorkeling videos are still wide enough for Youtube but narrow enough for quality photos.
Using the GoPro Standard Settings
And if all else fails, and you find switching the settings is just too damn difficult and confusing, use the Standard Settings option on your GoPro Hero 10. You simply can’t go wrong.
2. Use a Dome Port
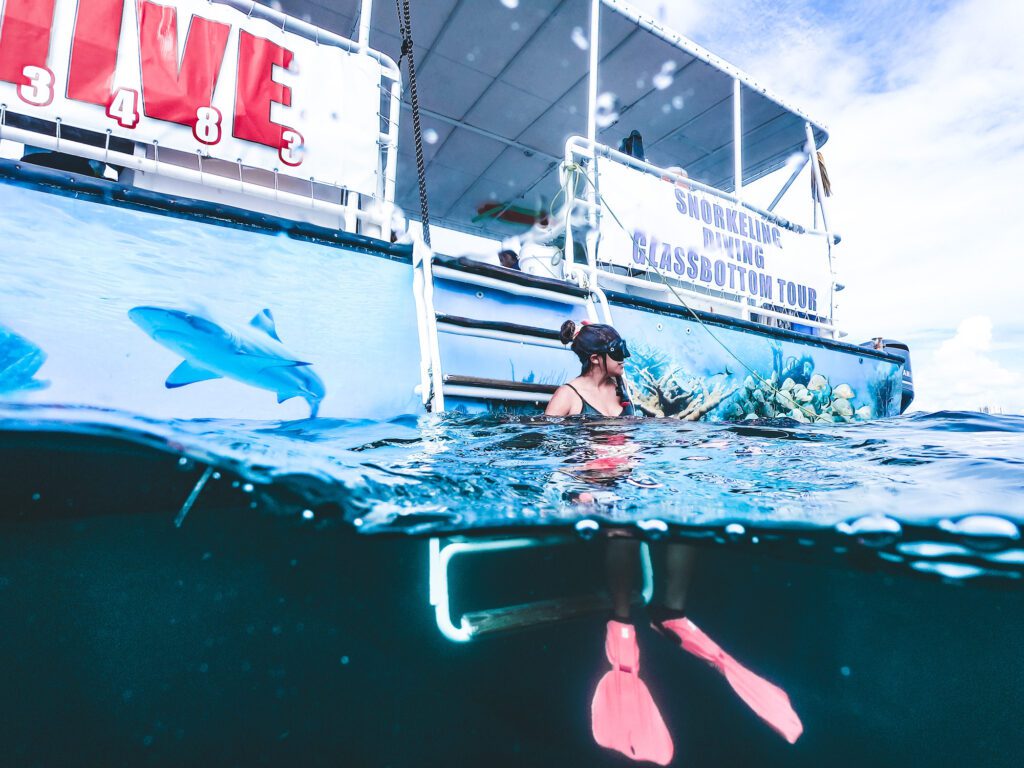
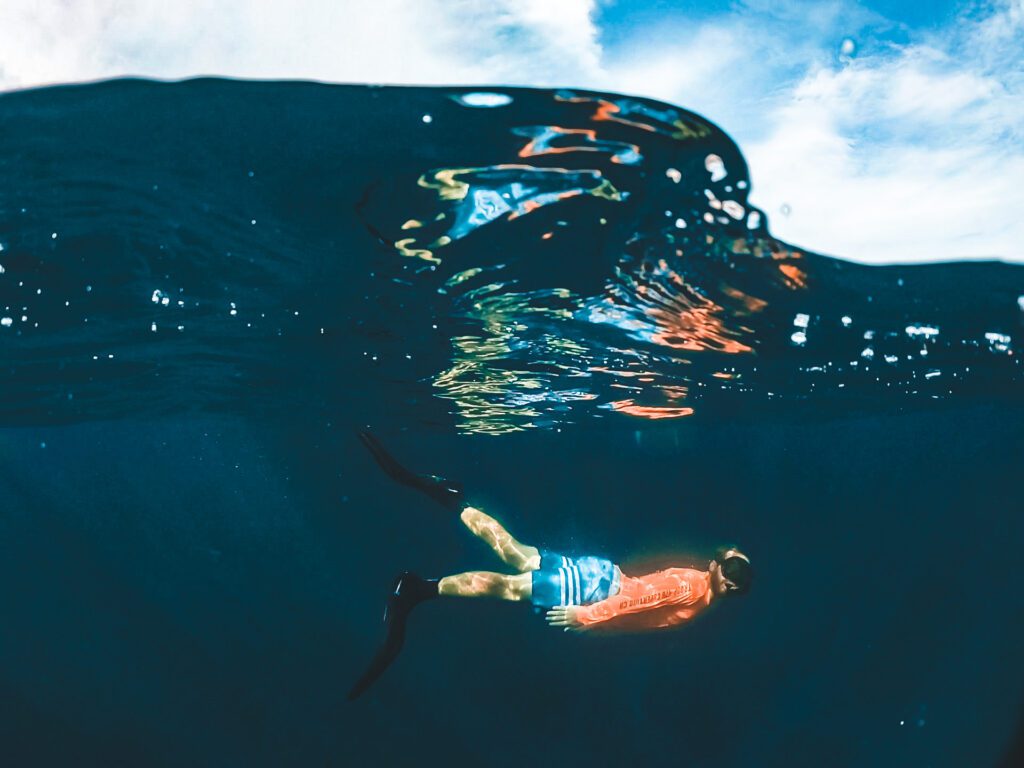
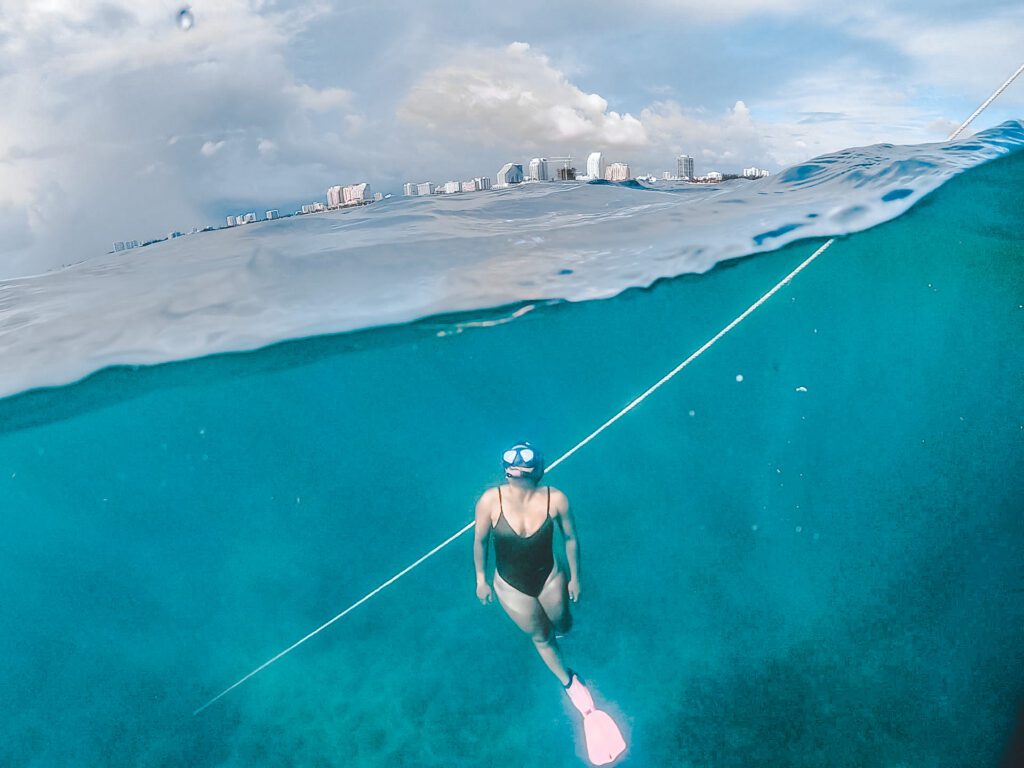
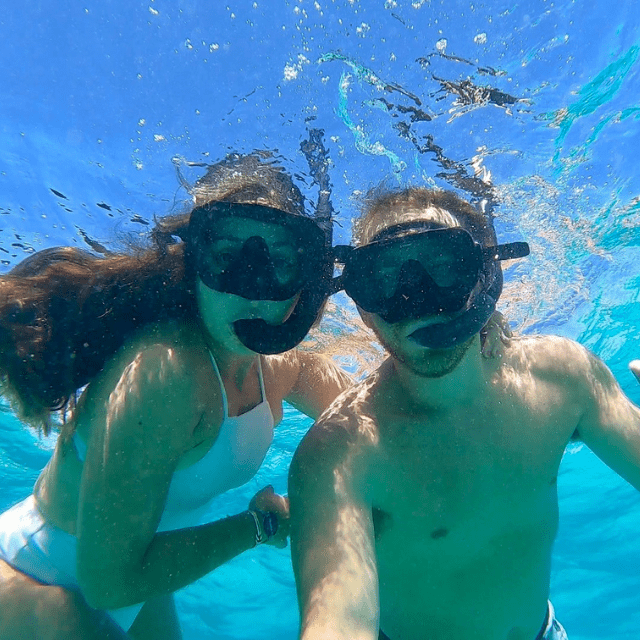
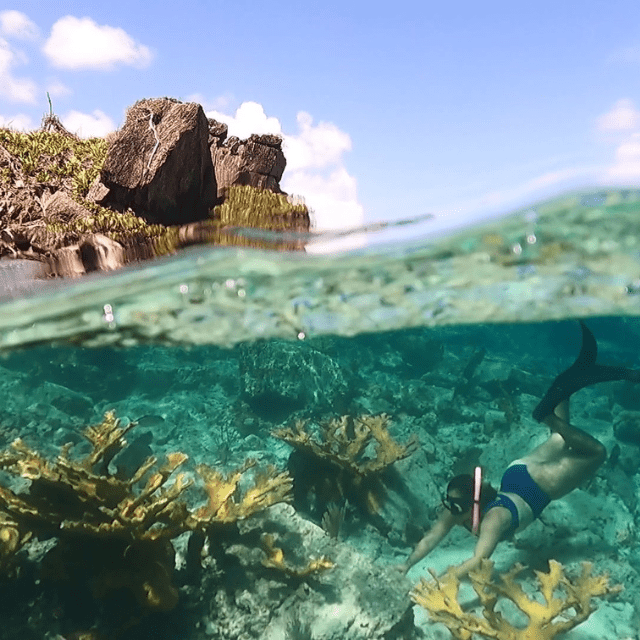
By far the coolest GoPro accessory for underwater footage is the Dome Port. These creative contraptions, when held at water level, capture above and below the surface simultaneously.
The result? Epic pictures, at the very least. And if you’re lucky, some pretty awesome video clips. Check out some examples below!
3. Add a Colored Filter
The deeper you go the less light you’ll have. The less light you have, the less color you’ll see.
This isn’t much of an issue when you’re snorkeling at the surface in some extremely shallow reefs. But if you’re diving below 10 feet or more to capture the grazing sea turtle, it becomes a problem.
Best enhance the vibrancy of your videos by using a red or magenta filter. The red filter is for blue water, whereas the magenta filter is for green water.
4. Use the Best GoPro Mount for Snorkeling
Half the battle of capturing a quality GoPro video while snorkeling is reducing your shakiness by utilizing a proper mount. My absolute favorite GoPro mount for snorkeling, scuba diving, hiking, and simply beaching is the Carbon Fiber Handle from Smatree. It has taken my videos, above and below the sea, to the next level.
📚 Related Reading: 4 Best GoPro Mounts for Snorkeling
FAQ: Should I use a snorkel mask with a GoPro Mount?
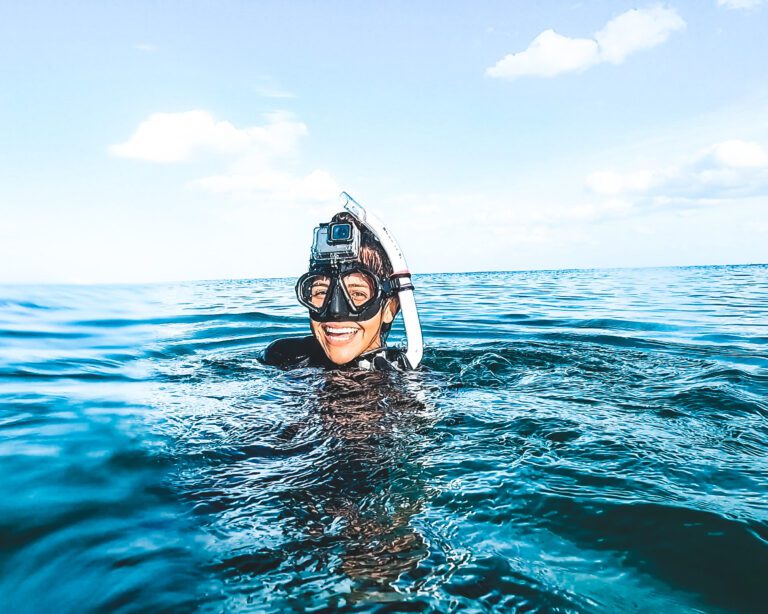
Snorkel masks with GoPro mounts fixed on the top are not a good choice for snorkeling for a variety of reasons. First of all, you have to angle your face in such a way for the camera lens to even submerge.
And secondly, you don’t know exactly where your camera is facing! Sure, it’s in the general direction you’re looking, but chances are it’s not capturing what you intended on capturing.
5. Use housing for added protection
The newer models of GoPro including the Hero 8, 9, 10, and MAX have a depth rating of up to 10m (33 feet). However, I recommend using underwater housing for an added layer of protection while snorkeling.
So yes, your GoPro should be able to withstand the elements on your snorkel trip without underwater housing, but I will say, the saltwater is harsh on the camera.
As it did with my GoPro, the saltwater will eventually take its toll on the small hinges, gaskets, and seals prevalent on the camera body.
6. Use Anti-fog Inserts
The only downside of using underwater housing on your GoPro while snorkeling is the possibility of fogging. If moisture is introduced into the housing before sealing it, you have a good chance that it’ll fog.
Anti-fog inserts are an easy solution to combat this problem. Just slip it between the camera and housing before you slap the case shut!
7. Clean droplets off the lens
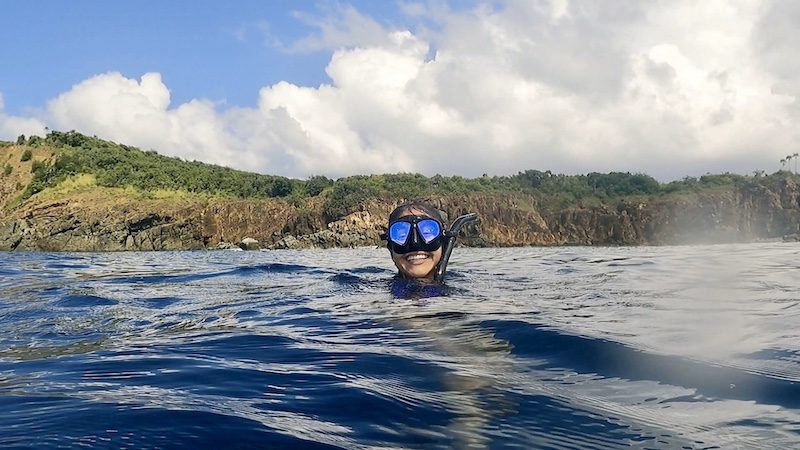
Half the fun of capturing video and photos while snorkeling is filming your buddy doing it! Now, keep in mind that if the camera is submerged below water and you bring it above the surface to film your smiling face, chances are it’ll have water droplets over the lens. Be sure to wipe it off before you flash those pearly whites!
8. Know Your Subject & Distance
Zooming capabilities on a GoPro are limited – they’re built with a lens designed for wide-angle footage instead. This means it’s best to shoot things from slightly further away as the lens has a minimum focus of 12 inches.
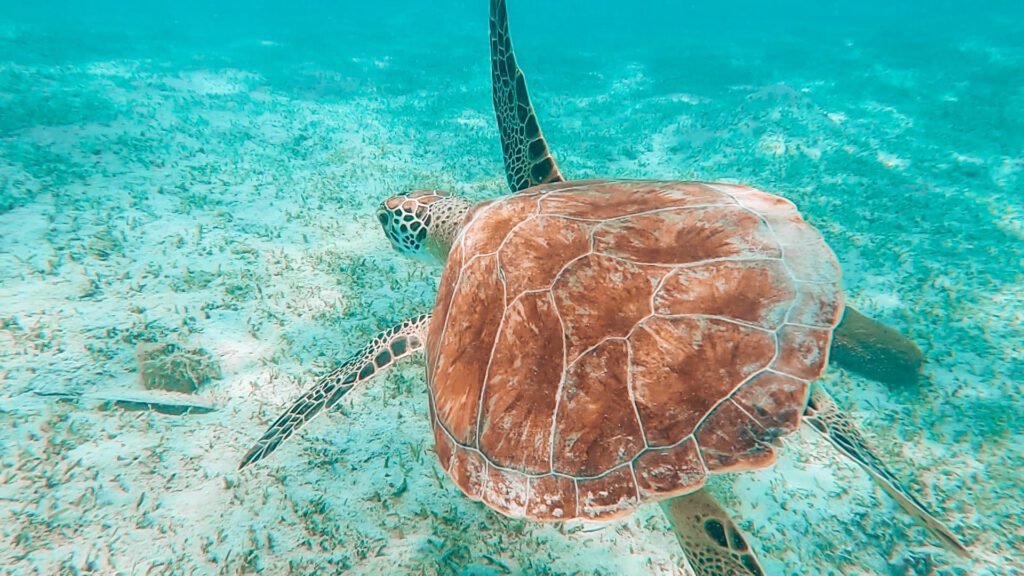
Practically speaking, shooting any sort of Macro photography underwater is extremely difficult with a GoPro. However, if you’re filming your snorkel buddy, a shark passing by, or those green sea turtles grazing in the seagrass, it may do well.
It’s a balancing act, honestly, and one that can only be achieved through experience. You don’t want your subject to be too far away, but not too close, either.
Here’s an example of an underwater GoPro video using adequate subject distancing:
Keep a Marine Animal Safe Distance
Although we’re trying to capture some epic videos of sea animals, it’s always a good reminder to keep a safe distance from marine life. We don’t want to spook them and we don’t want them to spook us. Doing so, keeps everyone involved safe.
9. Keep It Charged
GoPro cameras have an incredible amount of capability using an abundance of energy. So naturally, they tend to drain through batteries.
Always keep a fully charged, spare battery ready to swap out on your snorkeling adventures so you never miss a moment!
10. Capture Clips, Not Chunks
One mistake new GoPro users make while snorkeling is they want to film their entire snorkel – or at least large chunks at a time. I’d recommend not doing this.
Why? A few reasons:
- Filming large chunks burns your battery and memory quickly.
- Oftentimes, you end up with much of your video containing nothingness.
- You get distracted and end up forgetting you’re even filming. Next thing you know, you have a 30-minute video of your GoPro dangling from your wrist. More nothingness.
- Even if you cut out small clips from the larger video, the large video will take a long time to download and an even longer time to sift through.
- You want to relive and share the amazing moments from the snorkel. So focus on filming only those moments.
So our recommendation? Start filming when you see some action and stop filming when it’s over. This results in less battery wasted, less memory used, quicker download speeds, less editing time, and more epic clips to share with your friends.
Take slightly longer clips (a second or two)
When you’re capturing videos that you plan on editing, take a video that’s slightly longer than what you’re trying to capture. I’m talking a second or two, and that’s it.
The reason is, that as you edit and insert transitions, seconds on either end of the video will be shaved off for a smooth conversion.
11. Properly maintain your GoPro
And as with anything technical, expensive, and worth saving, make sure you take proper care of it!
For snorkeling, this means giving your GoPro setup a long freshwater bath after every use. I made the grave mistake of leaving salt water on my GoPro Hero 9 and it started corroding the port door to the battery! Not good!
Additionally, make sure you properly store your GoPro with a handy case like this one by Smatree. It’s an easy and effective way to transport your GoPro + accessories from snorkel site to snorkel site while keeping it scratch free!
GoPro Snorkeling Tips: Debrief
So there you have it! Just follow these easy tips to improve the quality of your GoPro videos while snorkeling. We hope you’ve found this guide useful! Now, get out there, go snorkeling already!
Enjoy this Post? Pin it!
Read More About Snorkeling!
We hope you enjoyed our post on how to improve your GoPro snorkeling videos. Hopefully, you’ll find it useful on your next adventure! Here are a few more ocean-loving articles we think you should read next:
- 13 Unforgettable Adventures to Experience in Puerto Rico
- 11 Best Snorkeling Spots on St. Thomas, USVI
- 5 Best Ways to Explore Hurricane Hole on St. John
- VIDEO: Spotted Eagle Ray in Brewers Bay on St. Thomas
There’s so many ways to get better GoPro videos that I know I’ve forgotten a few. What else would you add to this list? What did you find helpful! Be sure to let me know in a comment below!



I loved your idea about capturing clips when snorkeling. I’m hoping that I can take my kids snorkeling this summer. We’re going to visit my parents in Puerto Rico!
Hi Eve,
What an awesome trip! We were just in Puerto Rico and loved it! Lots of opportunities for snorkeling! Have fun!
Andrew