17 Useful Tips for Better Underwater GoPro Videos – Scuba Diving
Shooting the perfect GoPro video is a tricky thing. Shooting the perfect GoPro video underwater is even trickier. These tips will help you capture better underwater GoPro videos during your next adventure!

You’re back from your dive, excited as can be, and can’t wait to upload all the videos of those epic moments you just witnessed underwater. You open the GoPro app, download the video, and much to your dismay, it sucks.
Not only does it suck, but you missed the shark, sea turtle, manta ray, or other majestic creature passing by entirely.
We’ve all been there – I certainly have, at least. It’s frustrating beyond belief – what was going to be an amazing moment captured on camera is nothing but a distant memory now. And all because you didn’t consider a few simple tips for better underwater GoPro videos.
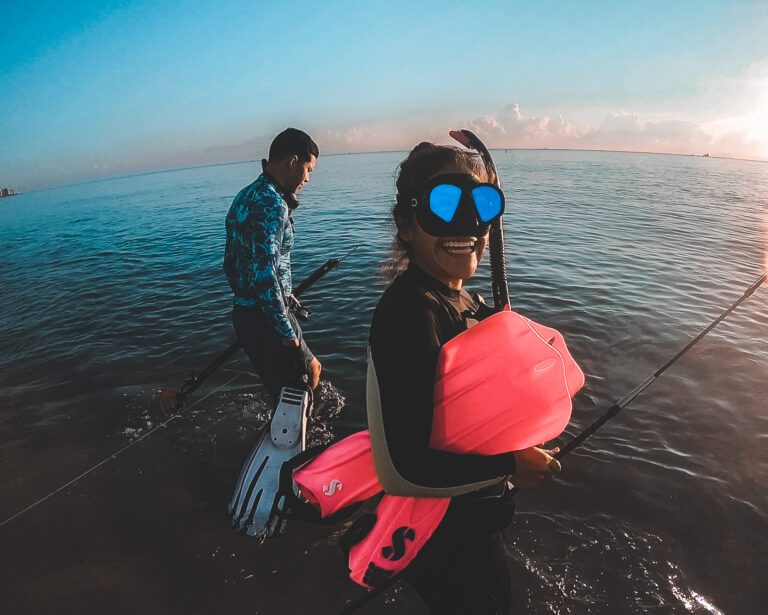
Sure, it’ll never be perfect. But you can at least do a little mitigation. So, after countless bad videos, these are the tips I’ve learned for better underwater GoPro videos while scuba diving. Anyone who’s taking underwater videos, whether it be swimming, snorkeling, or scuba diving, with a GoPro (or another action camera), will find these tips useful!


Best GoPro for Underwater Videos While Scuba Diving
The GoPro Hero 9 is the best GoPro for underwater videos while scuba diving and it’s not even close. The variety of settings, stabilization, and high resolution is unmatched compared to earlier models of GoPro. However, that’s not to say the GoPro you currently own isn’t good for scuba diving. But in our experience, the Hero 9 is certainly the best.
GoPro Hero 9

The rest of this article details GoPro accessories that work with the GoPro Hero 9 while scuba diving. However, many of the tips we mention will work for any GoPro! Just be mindful when making a purchase that it’s compatible with your GoPro model.
How to Shoot Better Underwater GoPro Videos – Scuba Diving
Never miss that epic shot by following these 17 tips for better underwater GoPro videos while scuba diving.
1. Protect Your Camera
Your GoPro won’t be filming anything if it’s broken. And one of the surest ways to break it is by taking it to depths that exceed the rating of the camera.
Generally speaking, most GoPro models are rated to 10 meters or 30 feet. If you’re diving deeper than that, you must use protective underwater housing.
But even if you’re diving under 30 feet (10 meters), why would you risk it? The housing, at the very least, adds one more security measure to keep your GoPro safe.
Underwater Housing for GoPro Hero 9

READ MORE: 7 Best GoPro Accessories for Scuba Diving (2021)
2. Add Some Color
One of the best ways to shoot better underwater videos with your GoPro is to add some color!
The deeper you go, the more difficult it is for light to penetrate from the surface – red is the first color to disappear as you descend. That’s why divers attach a red filter to their camera to accommodate the lack of light – you’d be amazed at the difference it makes in your video.
I’ll never dive without a red filter again – the difference is that stark.
Red Filters for above underwater housing

PRO TIPS
-Use a magenta filter for green water and a red filter for blue water.
-When you enter the water, air bubbles may get trapped between the filter and the camera. “Burp” the air bubbles out by removing the filter underwater and popping it back on before filming.
To demonstrate the difference here are two videos side by side where one uses a red filter and one doesn’t. Notice the difference in color.
With red filter:
Without red filter:
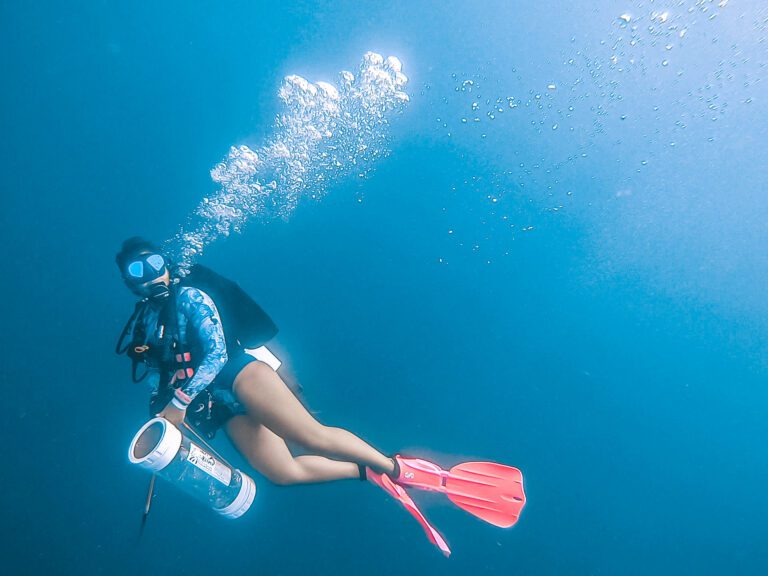
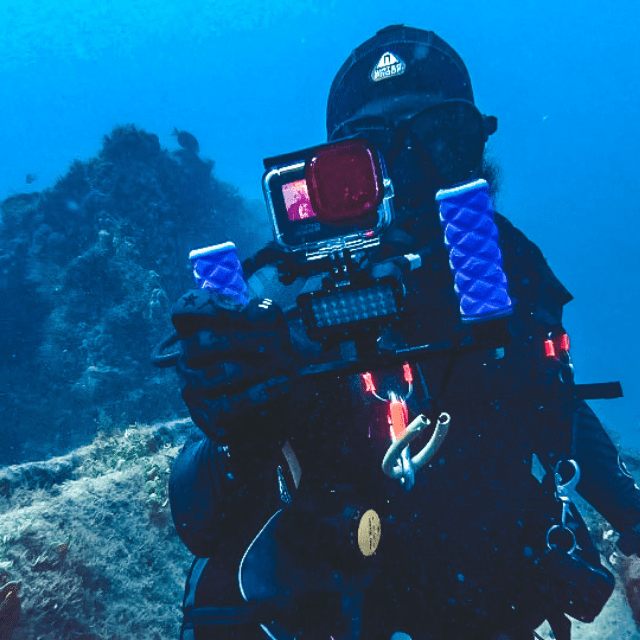
3. Keep It Steady
The biggest offender of bad GoPro video while scuba diving is an unsteady hand. One shake of the wrist while holding your camera can cause wild effects in your video.
The first solution is good buoyancy, which takes time and experience to master. But once you’ve improved your buoyancy, the next solution is selecting the right mount for your GoPro.
These few are our top picks below. Generally, each does a good job at steadying your camera for better underwater GoPro videos while scuba diving. A quick breakdown of the pros and cons:
- The Handler Floating Grip is cost effective and easy to use but may be susceptible to shaky footage if your hand isn’t steady.
- A dual hand tray is the most stable but costs more than the others while requiring two hands.
- The Floating Extendable Handle is best for up close footage but is also the least stable due to long lever arm.
The Handler Floating Grip

Dual Hand Tray

Floating Extendable Handle

READ MORE: What’s the Best GoPro Mount for Scuba Diving?
4. Clean the lense
A simple solution to a simple problem. Before securing your GoPro in the underwater housing, make sure the lens is clean of any debris that might distort your footage. Fingerprints, smudges, a piece of hair, sand, or even a water droplet are common offenders.
5. Lighting it Up
Adequate lighting can make all the difference in your videos. The blue water becomes more vibrant and other colors, like red and orange, are restored. A few tips to consider better lighting in your GoPro videos:
- Keep the natural light at your back. Keep in mind where the sun is shining in relation to your position in the water. If you’re facing the sun (filming into the light), your videos may be overexposed (brightness or a glare may distort the film). However, when the sun is at your back, your target is well lit thus capturing an epic video.
- For dives at greater depths where the light doesn’t shine as bright, consider adding a light to your GoPro setup. Or inside caves, shipwrecks, or caverns. Basically, any limited visibility environment.
Corresponding a dive light with a GoPro is easy with the attachments below.
Suptig Dive Light

Suptig 84 LED Dive Light

An attachment light is one thing, but harnessing the power of natural light is another. Just see for yourself on this video I took of a sea turtle in Saint Thomas, USVI.
Notice the changing of color on the sea turtles as I repositioned my body for the natural lighting to be at my back.
6. Avoid Foggy Situations
If any moisture is introduced to the inside of the housing before sealing the camera, it’s going to fog up during your dive.
In these situations, we recommend using an anti-fog insert to soak up the moisture. Simply slip it into the housing between the camera and the case.
Once inside, any water droplets or humidity that entered the housing before it was sealed will be “soaked up” by the anti-fog inserts.
Anti-Fog Inserts

7. Clean Housing After Surfacing
Just like you should clean your lens before your dive or snorkel, you should do the same right after you surface. Why? Water droplets tend to gravitate on the outside of your housing or lens causing a distortion in the video.
See for yourself:
8. Know Your Subject & Distance
Zooming capabilities on a GoPro are limited – they’re built with a lens designed for wide-angle footage instead. This means it’s best to shoot things from slightly further away as the lens has a minimum focus of 12 inches.
Practically speaking, shooting any sort of Macro photography underwater is extremely difficult with a GoPro. However, if you’re filming your dive buddy, a shark passing by, or those green sea turtles grazing in the seagrass, it may do well.
It’s a balancing act, honestly, and one that can only be achieved through experience. You don’t want your subject to be too far away, but not too close, either.
Here’s an example of an underwater GoPro video using adequate subject distancing:
Keep a Marine Animal Safe Distance
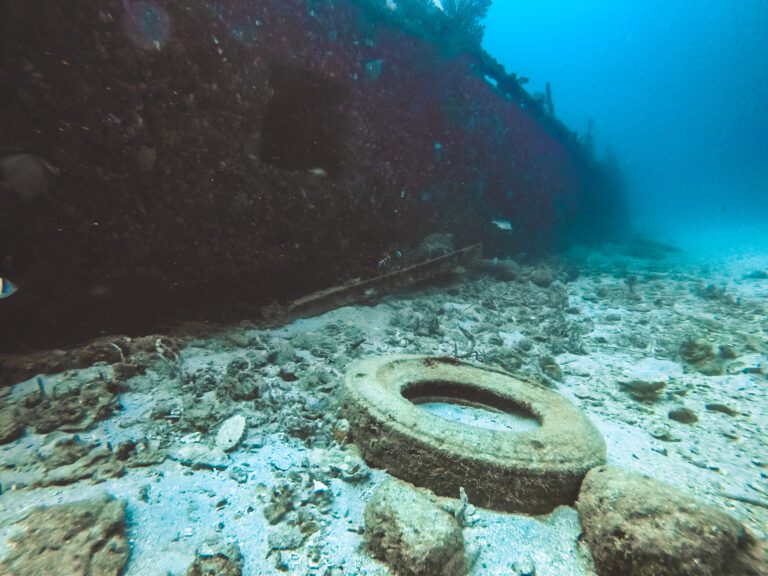
Although we’re trying to capture some epic videos of sea animals, it’s always a good reminder to keep a safe distance from the marine life. We don’t want to spook them and we don’t want them to spook us. Doing so, keeps everyone involved safe.
9. Keep it Charged
With such high-powered capabilities, GoPro cameras tend to suck down the battery life. And believe me, nothing is worse than losing battery power right when that epic underwater moment occurs.
So here’s your friendly reminder to charge up all the batteries before you leave the house for your dive. Better yet, charge it the night before.
But either way, it’s always recommended to carry extra batteries with you for an easy swap out if need be.
Battery Charger + Spare

10. Have Adequate Memory Space
Much like battery power, high-quality GoPro videos use a lot of memory, as well. Even videos shot in 1080 will rack up the memory space rather quickly.
The easiest way to combat a lack of memory capacity is, well, deleting old videos. Once your old videos are uploaded to your computer or the GoPro app, why save them on the SD card? They’ll literally just get in the way.
Although, it’s never a bad idea to keep an extra on hand in case you don’t have the chance to download them during your dive trip.
So, for me, I keep at least one spare 256 GB micro SD card in my GoPro kit.
SD Card

11. Use the Best GoPro Settings for Scuba Diving
This could be debated for a while and honestly depends on what exactly you’re using your GoPro videos for. Youtube? Instagram? TikTok? Pinterest? Each of those social media outlets prefers various pixelations and dimensions.
So there’s no clear-cut answer here and it’s something I’m investigating myself. However, for beginners, I do recommend using the GoPro Hero 9’s Standard Settings. This includes:
Resolution
1080p is the digital standard and has more than enough resolution to post your videos on social media to share with your friends.
Frames per Second (FPS)
60 FPS is best for underwater GoPro videos. Particularly, if you’re not worried about editing the clips and would rather post them directly for your friends to view.
Plus, at 60 FPS, as opposed to 30 FPS, you can slow down some clips for a cool, dramatizing effect.
Digital Lens
The wide digital lens, or field of view, is best for scuba diving videos on a GoPro, especially for beginners. Although, SuperView (wider) and Linear (narrower) are beneficial for certain settings.
Personally, I’ve switched to linear view to film larger subjects, like sea turtles, sharks, and my wife, as it lets me frame photos that better fit my social media channels. It’s entirely a preference and will ultimately be dictated by how you use your videos.
12. Rinse in Fresh water
A simple, yet often forgotten solution to defunct GoPro equipment is simply rinsing it off with fresh water after each use.
If you don’t, the salt build-up can corrode various finite pieces on the GoPro and your GoPro accessories. Battery ports can get jammed shut and O-rings can deteriorate.
All around, an easy solution to a potential world of problems.

13. Use a Dome Port
Ever wonder how people get those incredible half above, half below the surface still shots? Now you have your answer: they use a dome port!
Your GoPro fits nicely inside the port and attaches to the handle provided (make sure you purchase the dome port that works for your model of GoPro).
After that, it’s easiest to let the film roll as you try to position your camera 50/50 above and below the waterline while aiming at your subject.
Honestly, we’re still mastering this piece of equipment ourselves, but for the time being, check out the photos we were able to capture with our Hero 6 below.
Dome Port for Hero 9


14. Consider length of clip for better underwater GoPro videos
How long should a GoPro clip be while scuba diving? Let’s take a look.
Capture clips, not chunks
One mistake new GoPro users make while scuba diving is they want to film their entire dive – or at least large chunks at a time. I’d recommend not doing this.
Why? A few reasons:
- Filming large chunks burns your battery and memory quickly.
- Oftentimes, you end up with much of your video containing nothingness.
- You get distracted and end up forgetting you’re even filming. Next thing you know, you have a 30 minute video of your GoPro dangling from your wrist. More nothingness.
- Even if you cut out small clips from the larger video, the large video will take a long time to download and an even longer time to sift through.
- You want to relive and share the amazing moments from the dive, not the entire dive. So focus on filming only those moments.
So our recommendation? Start filming when you see some action and stop filming when it’s over. This results in less battery wasted, less memory used, quicker download speeds, less editing time, and more epic clips to share with your friends.
Take slightly longer clips (a second or two)
When you’re capturing videos that you plan on editing, take a video that’s slightly longer than what you’re trying to capture. I’m talking a second or two, and that’s it.
The reason being, as you edit and insert transitions, seconds on either end of the video will be shaved off for a smooth conversion.
15. Don’t use the photo setting – frame photos from videos instead
Although GoPro has a photo setting, I rarely use it. Particularly underwater.
Things are moving too fast with too much material in between the camera and subject (i.e water). The result? The GoPro can’t adequately focus on the subject when the picture is taken.
So what’s the best way to get photos from your GoPro?
Film your subjects using standard 60 FPS and capture the freeze-frame on the GoPro QuikApp. It’s the best way to get quality photos with the GoPro underwater.
Here are a few examples:


16. Use Quality Editing Software
Admittedly, this is a world I’m just now starting to dive into and don’t entirely know much about. Thus far, I’ve had success with two programs:
GoPro QuikApp (free)
Download your GoPro videos directly to the app and begin editing in seconds. This app is perfect for quick clips and simple videos you want to share with your friends or even keep as a memory.
It’ll even splice your videos together highlighting what it thinks the important moments are.
iMovie (free)
I’m just now learning how to use iMovie and I’d say it’s going well. It’s fairly simple to edit your clips together, add music, transitions, and truly capture the moments you want to specifically share.
It’s more time-intensive than the QuikApp, but well worth it for more intensive video editing.
More on GoPro Editing Software
I wish I could share more, but a million programs exist to edit GoPro software so it’s hard to say which is best. Please, leave a comment below on which software works for you so I can give it a look and add it to the list!
17. Practice Good Diving Techniques
And above all, just practice good diving habits. Half the battle of getting better underwater GoPro videos is proper buoyancy, visual awareness, positioning, and all-around quality scuba skills.
You could do everything we mentioned on this list but if you’re bouncing around, bumping into things, or crawling on the ground while diving, better underwater GoPro videos will always elude you.
Need a Scuba Skill Refresher?
Our resource page for Scuba Skills will help you step up your dive game before you get back out there. Or, maybe teach you a new trick or two. Check it out!
Enjoy this Post? Pin it!
Read More About Scuba Diving!
We hope you enjoyed our post on capturing better underwater GoPro Videos! Hopefully, you’ll find it useful on your next adventure! Here are a few more ocean-loving articles we think you should read next:
- 13 Unforgettable Adventures to Experience in Puerto Rico
- Exploring an Underwater Cliff: Scuba Diving the Wall in La Parguera, Puerto Rico
- Honeymoon Pt. 6 – Scuba Diving in La Parguera
- 7 Best Travel BCDs in 2023 (By a Dive Professional)
What tips do you have while using your GoPro underwater? Anything we should add to our list? Let us know in a comment below!